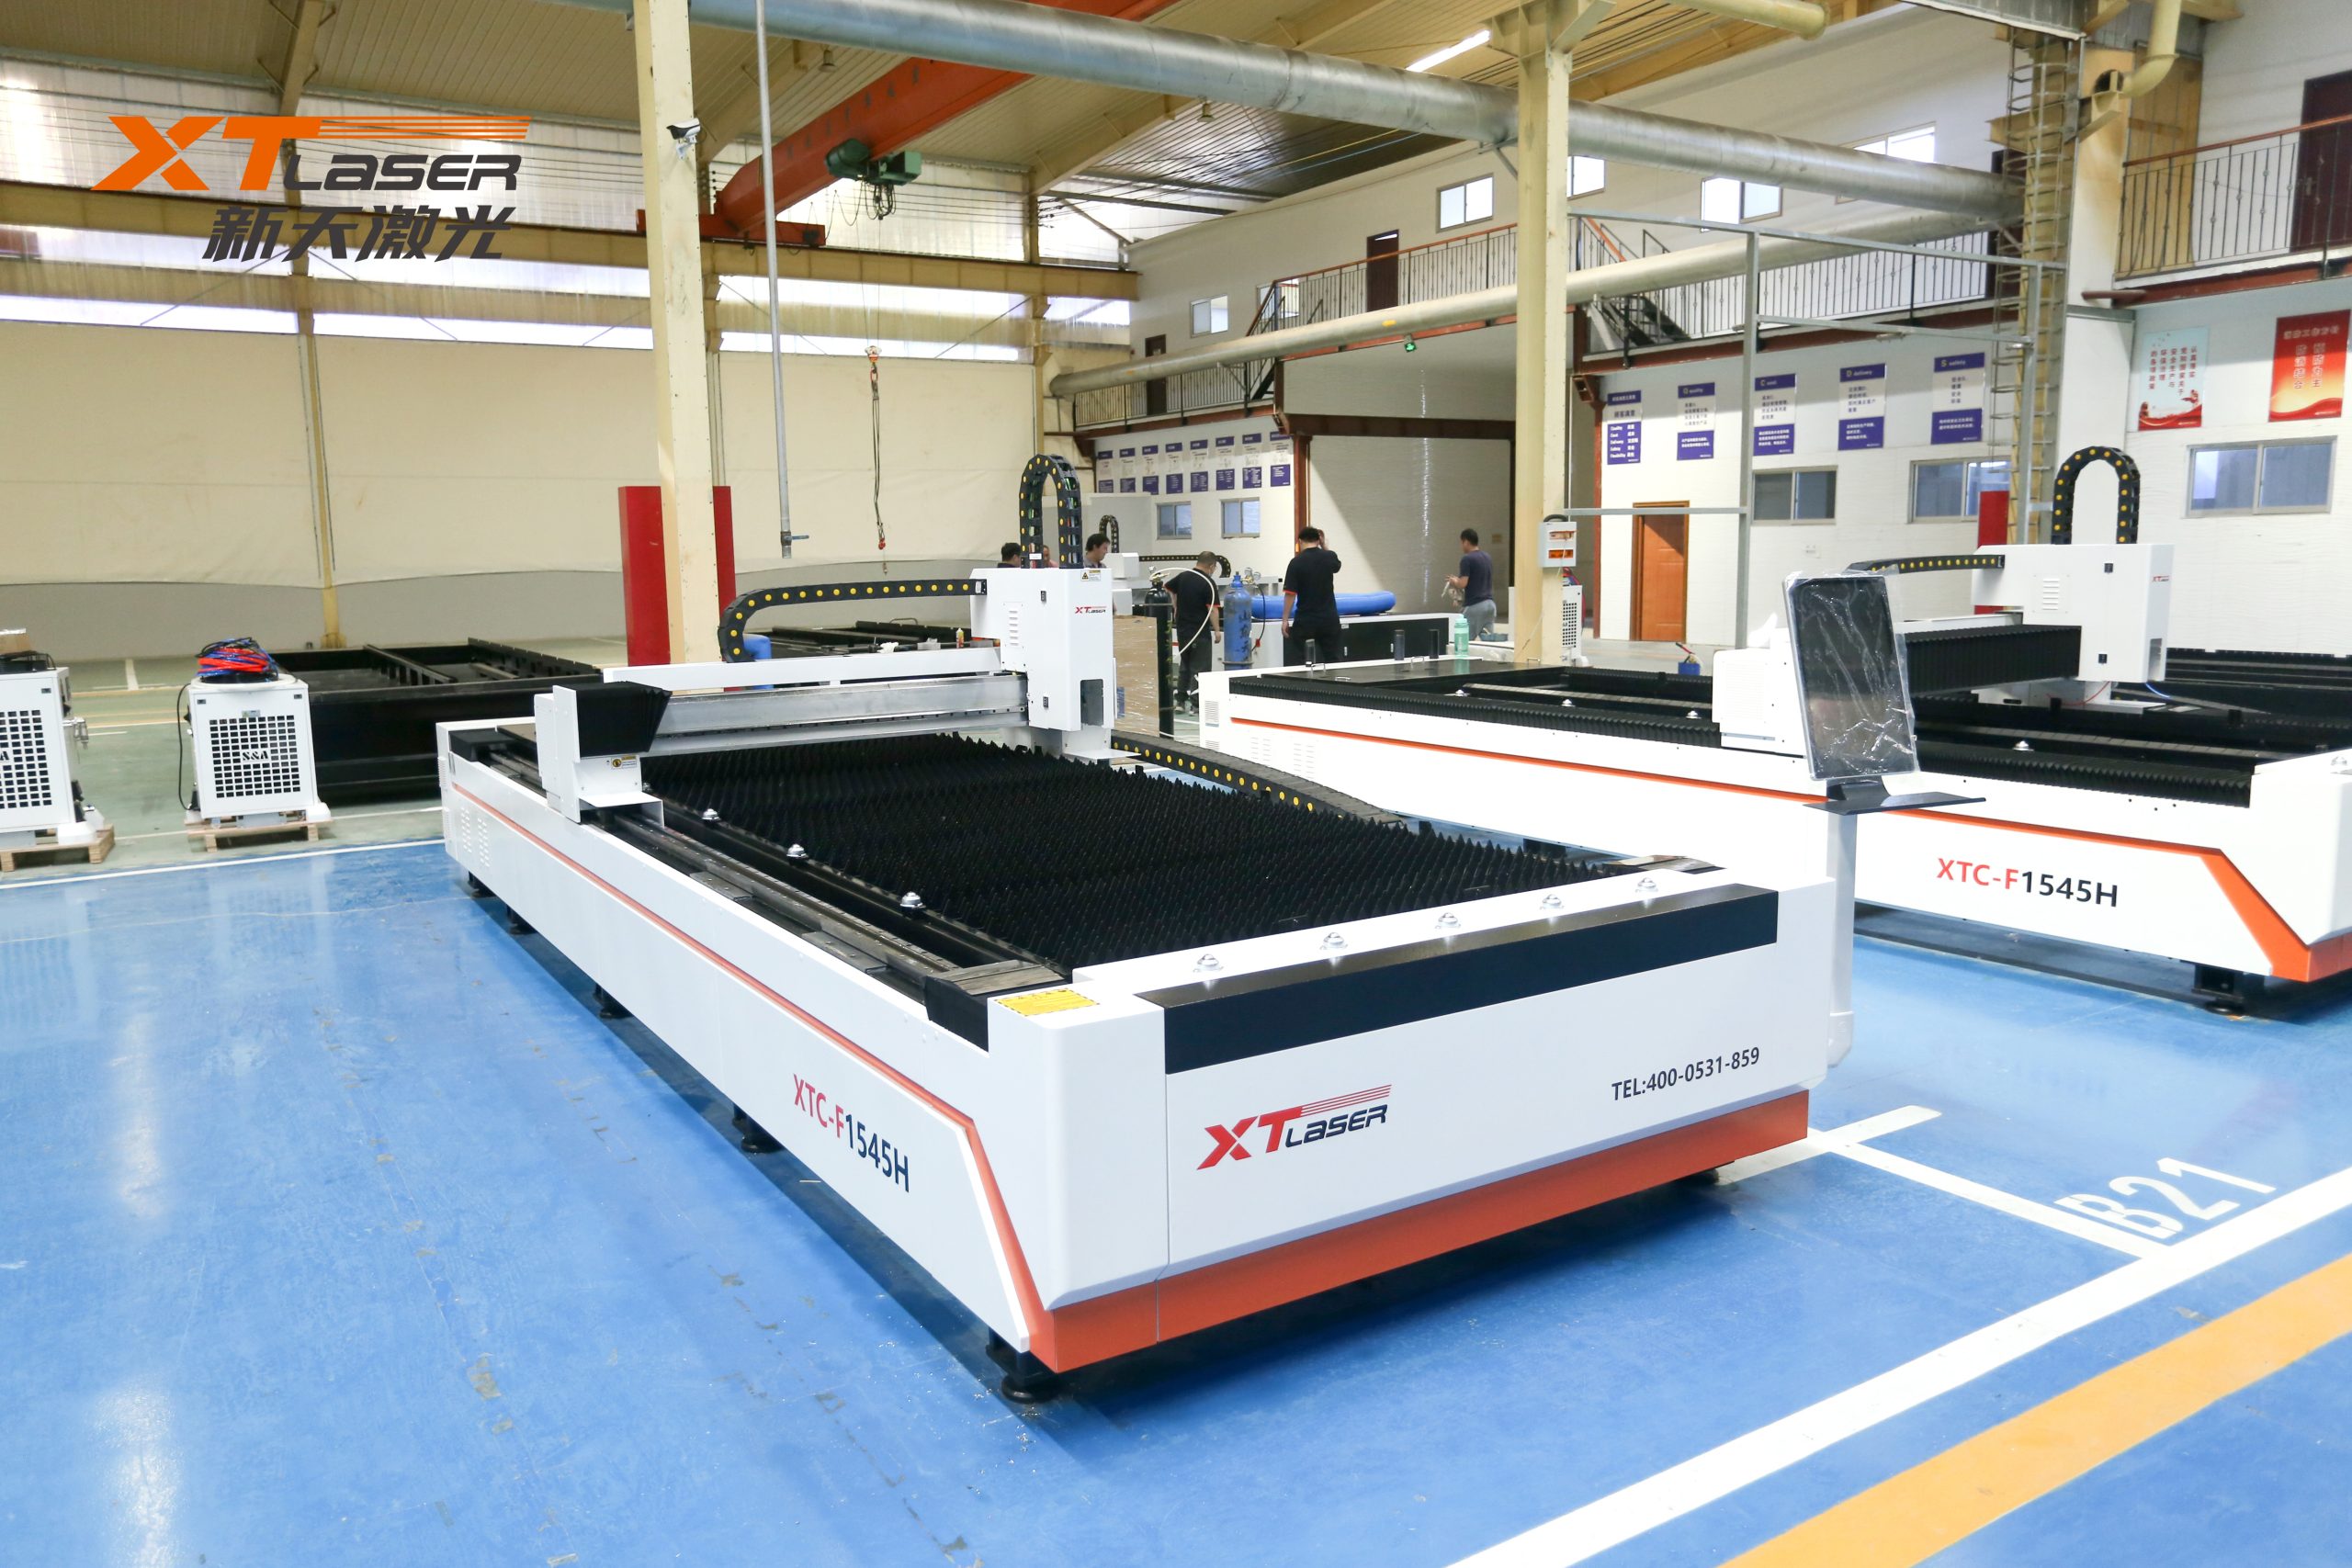
How to install a laser cutting machine
The installation of the laser cutting machine is divided into nine steps
Many people do not know how to install and use laser cutting machines after purchasing them. Although laser cutting machine manufacturers may provide after-sales service engineers for on-site installation, mastering some basic knowledge points can help with equipment maintenance and use in the later stage. Today, let me share with you the steps I took to install a laser cutting machine.

1. Fixed machine
Ensure that the machine has a relatively stable state during operation. After our equipment arrives, place the machine in a relatively stable place and first fix the four wheels and foot cups of the machine.
2. Connect the cooling system
First, connect the outlet of the chiller to the water inlet and match them one by one. Then connect the water protection signal line and power line, and turn on the water protection switch.
3. Connect the air pump
Many people don’t understand why an air pump needs to be connected. In fact, when a laser cutting machine is actually working, a large amount of powder will be generated on the material, affecting the carving or cutting effect. Therefore, we need to use an air pump or a larger air compressor to blow off the surface powder of the material.
4. Connect the exhaust fan
The above also mentioned that the machine generates a large amount of powder and smoke during operation. The air pump blows away the layer of powder on the surface of the material, and the function of the exhaust fan is to suck away the powder and smoke, ensuring the cleanliness of the machine and materials.
5. Connect the power cord
After the above steps have been completed, it is now time for us to connect the power cord. Plug the standard power cord into the marked area on the picture, and then plug the other end into the power strip.
6. Unlock emergency switch
The emergency switches of unused machines are locked, so please unlock the advanced switch before starting the machine. Here, you only need to lightly rotate it.
7. Start the machine
At this point, we can proceed to the steps of starting the machine. For safety reasons, we need to turn on the main power first, and then turn on the laser power.
8. Connect the machine and computer using a USB cable
In this way, the machine will be connected to the computer, and you can use the computer to transfer files when you need to process.
9. Shut down the machine
Finally, after using the machine, in order to maintain it or save electricity. We need to turn off the machine and form a good habit. Just the opposite of turning on the machine, first turn off the laser power, and then turn off the main power.
The correct installation of the laser cutting machine is also a step in the correct use of the laser cutting machine, not only for safety reasons, but also for the long-term use of our machine. The general installation process is like this, I hope it will be useful to you!


