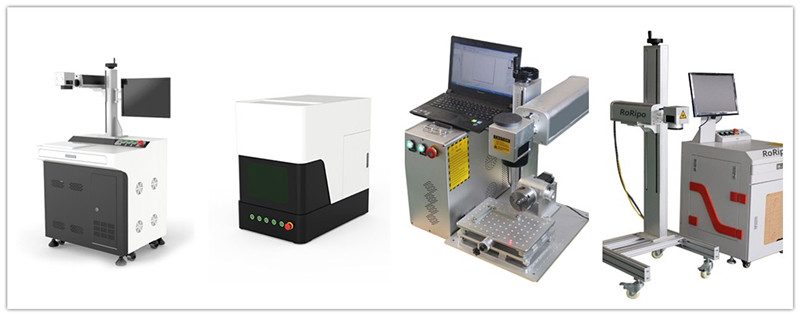
Manual/operation of fiber laser marking machine (Lisa)
Manual/operation fiber laser marking machine

Teach you how to operate the fiber laser marking machine
1.Marking graphics, text, numbers, etc.-fiber laser marking machine
1.1 You can edit the simple Graphics, text, numbers, etc directly in the EzCad2.0 software (refer to the Golden Orange Software Manual for specific editing methods).
1.2 And editComplex graphics firstly in CorelDRAW 9 software. After completion, then output the PLT format file and directly input the PLT format in EzCad2.0 software.
2.The settings of each parameters-fiber laser marking machine
2.1. Select the current pen number (the pen number can be edited freely).
2.2. Generally, if you do not select the default parameters, you can remove them in the default parameter selection box.
2.3. In the parameters, except speed (mm/s), power (%), frequency (khz). The other parameters are unchanged.
2.4. Speed: Generally adjusted within 100mm/s~500mm/s, the speed is slow and the printing time is long, the output energy is large, and the marking is deeper and heavier.
5. Power: Adjust between 10% and 90%. The higher the hardness of the corresponding printed substance, the higher the adjustment power.
6. Frequency: Adjust within 20 khz~80 khz, increase the frequency, and the marking will become lighter and lighter. On the contrary, the frequency is reduced, and the engraving becomes darker and heavier.
3.The adjustment of marking distance and position for marked object-fiber laser marking machine
3.1. Determine the position of the stage: Under the marking head, there is a stage that can move left and right in the horizontal direction. According to the substance to be printed, the horizontal position of the stage is determined by rotating the shaft.
3.2. Adjust the optical distance 18.3cm: There is a vertical direction control button on the back of the engraving chassis. The uppermost one is the up and down movement OK button, the dial up is up, the down is down; on the green side, the top is Fast (thick) movement, the following is slow (fine) movement; measured with a measuring tool, adjust the distance between the surface of the imprinted object and the engraving machine lens to the best marking distance of 18.3cm.
4. Marking
4.1. Turn on the laser marking machine and start the marking machine.
4.2. Open the EzCad2.0 software and then open the previously edited graphics, text, numbers, and so on. If there are multiple places to mark, select (S) to select the processing option.
4.3. Confirming the marking position according to the red light.
Normally there’s a little difference between red light position and marking position, thus the marking position is on the left lower than red light
4.4. After confirming the error, press the marking button to mark (shortcut key: red light (F1), marking (F2), marking can also use the marking button on the marking machine, you can also use the foot device). Among them, if it is design imprinting, it is necessary to repeatedly use the test article to mark, change the parameters, to achieve the best, save the design documents for future use; if the engraved imprint design, carefully observe, check, accurately mark
If you still don’t know how to use the fiber laser marking machine, please contact us by below information.
Email: lasermachine02@xtlaser.com
Mob/whatsapp/skype: 008615954124625


